
DIY Open Shelving
Open shelving is one of the easiest DIY projects for any room. If you’re nervous about starting your first DIY project, today’s the day to take the plunge!

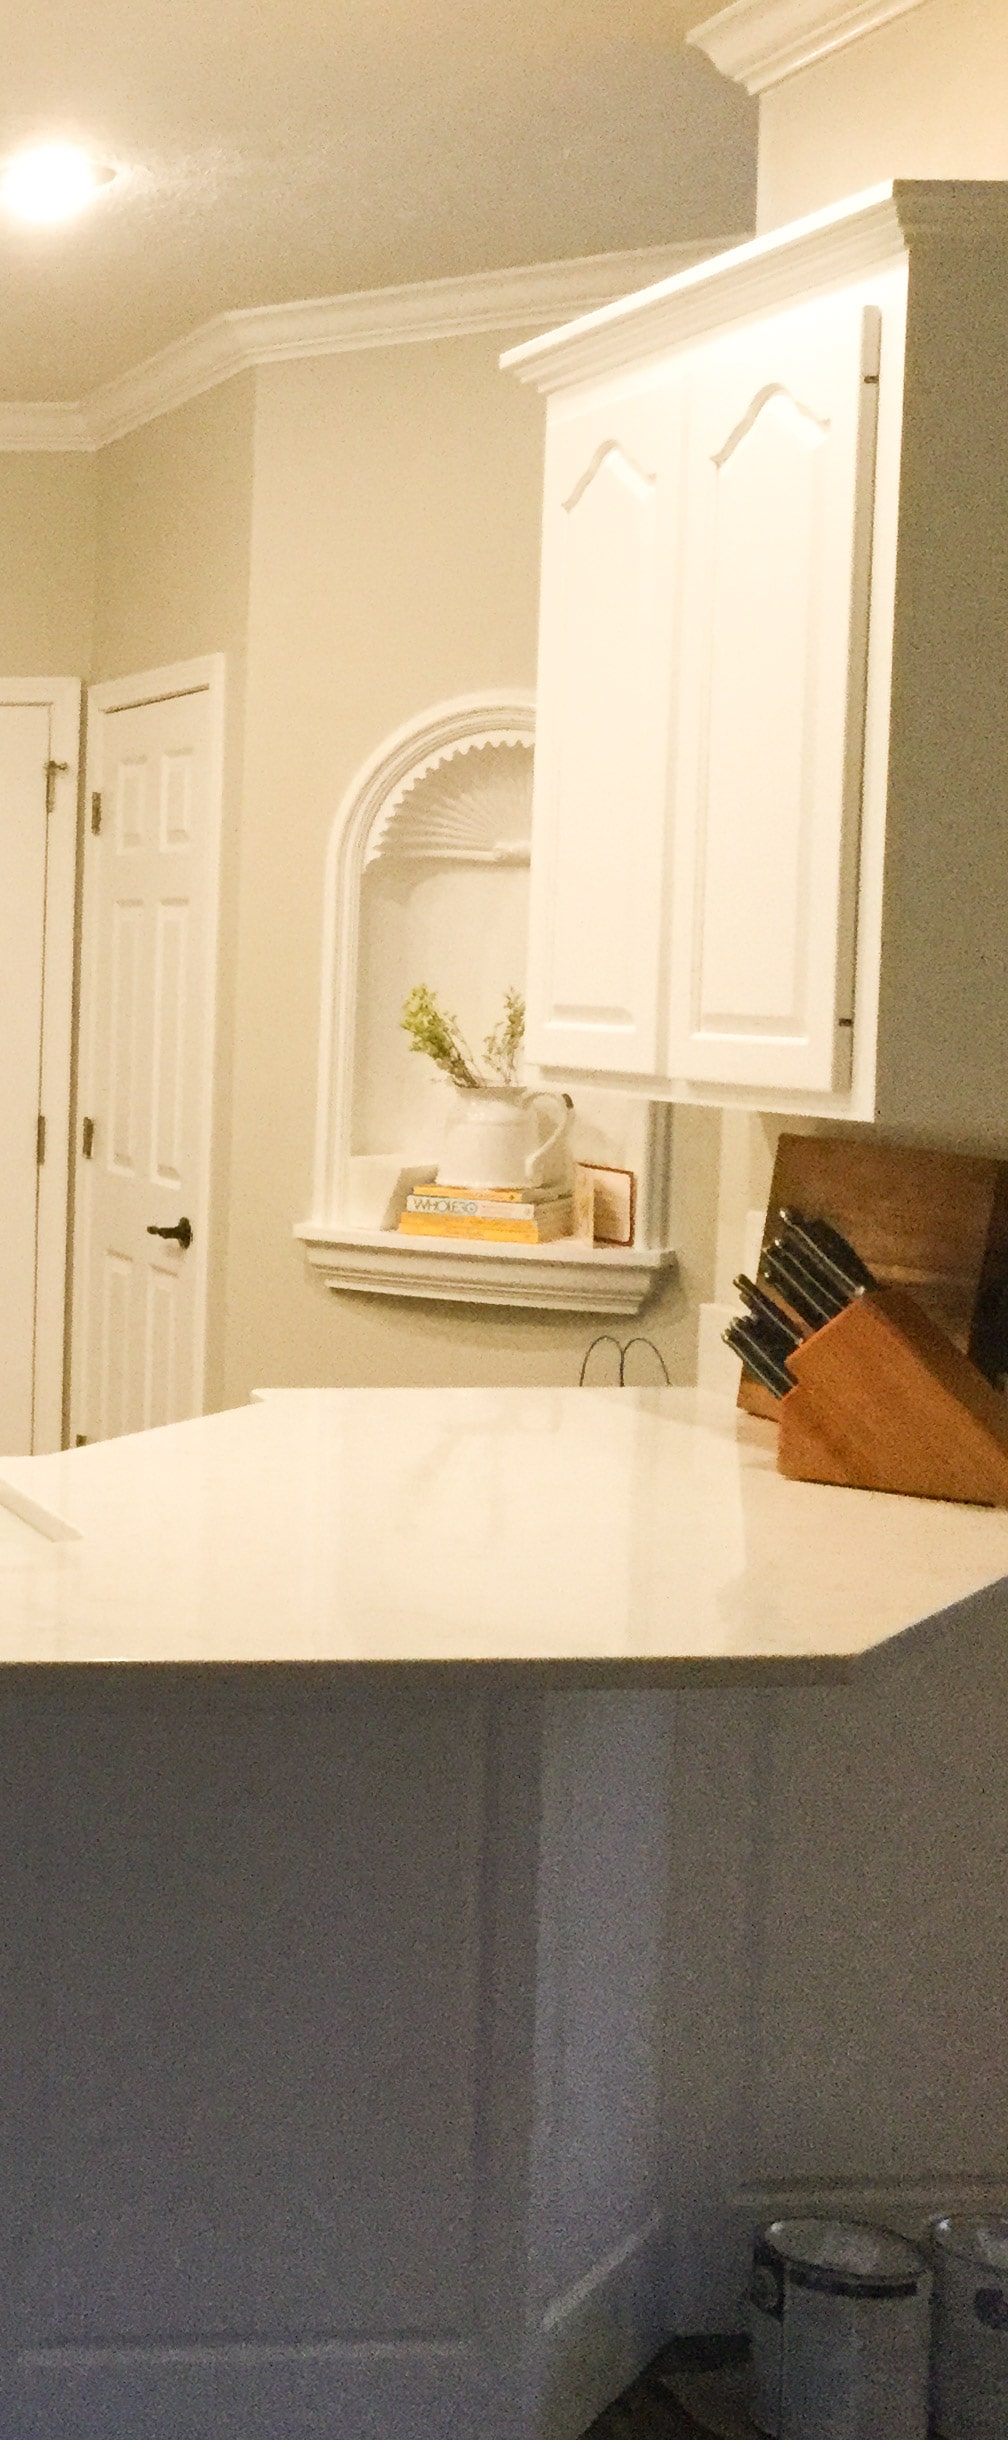
We decided to renovate our kitchen after we moved in so we had our cabinets painted white. I absolutely love white, but our kitchen was almost too white and I’m not really a fan of floating cabinets.


I’m sure you’ve seen tons of kitchens with open shelving these days because they’re so versatile and easy to make. To break up the white and add some warmth to our kitchen, I knew these DIY open shelves would be the perfect fit.
We ripped out the cabinet, but left it intact in case we decided to use it else ware. The cabinets had been in here since the house was built in 1994. This 23 year old cabinet was the most stubborn thing I’ve ever had to deal with.

I wish I could describe how hard is was to rip this cabinet out of the wall. It took us 8 hours with a lot of beer and puppy play time breaks. Beer of course for my husband’s friend who helped us with this project and puppy play for the preggo.
Since we had a hard time taking the cabinet down, we dented the drywall so patching all the holes ended up taking a tad longer than expected.

Two coats of primer and paint later the wall was ready for the shelves!

Building these shelves took one day to stain, seal, and hang up. Talk about easy!
BUILDING YOUR OPEN SHELVING
STEP 1 :
We wanted our shelves to fit all our dishes so none of them would hang off with the potential of falling. A 1 x 12 board is the perfect width for a standard plate. If you don’t have a Miter Saw or Circular Saw you can ask Lowes to the cut the board for you. Lowes will give you up to 3 cuts for free and anything after that I believe is 10-25 cents. We had our board cut so it would fit in the car. You will need 3 boards at 36” which leaves you with 1 left over board.

STEP 2:
Start by sanding your boards with P180 grit (both sides and all the edges). After you’ve sanded all your boards with P180 grit you’ll need to finish with P220 grit. You should see a difference between a sanded board and un-sanded board.

STEP 3 :
Once all your boards are sanded, wipe them clean of any excess dust with a damp cloth and let them fully dry before staining.

I played around a bit with different stains and tried to figure out what color would go well with the rest of the kitchen.

Side note: Turns out I don’t like Rust-Oleum’s “driftwood” stain by itself but one coat of it and a light coat of Minwax “provincial” is pretty awesome.
STEP 4 :
Use the wiping cloths to stain the boards by wadding up the cloth and dipping it in the stain and rubbing it on the boards in the direction of the wood grain. I applied one coat of Rust-Oleum Driftwood Stain to all the boards and immediately followed with a light coat of Minwax Provincial.

Let the boards dry for 2 hours
STEP 5 :
Flip the boards over and repeat step 4. Your boards will be a little sticky to the touch because the stain hasn’t cured fully yet.
STEP 6 :
Apply a light thin coat of Minwax Polycrylic with a paint brush for water based paint. Let the poly dry for 2 hours and sand with P220 grit after it has dried. Once you are finished wipe down with a dry cloth to remove any excess dust.
STEP 7 :
Flip boards over and repeat step 6.
STEP 8 :
It’s recommended to apply up to 3 coats of poly on each side, but I usually just do 2 coats on each side. After you have repeated “Step 6” 4 times, 2 coats of poly on each side, wipe down all your boards with a damp cloth. Let boards dry completely.
STEP 9 :
Once boards are completely dry use a 3M final finishing pad (found in the sand paper section where the sanding sponges are at Lowes). This will buff and polish the surface after you have sealed the wood with the poly.
*OPTIONAL STEP 10 : Spray paint your screws and washers using Rust-Oleum Flat Black to match the brackets. If you don’t care if they’re black or you are using different color brackets skip this step. Rust-Oleum Flat Black spray paint has been a staple in my garage since we have spray painted almost all of the shiny brass out of this house.
STEP 11 : Line up the shorter side of the brackets on the shelf where you want them to sit, I measured 2” from the edge on both sides. Predrill pilot holes where you will screw in the brackets. Use two flat washers and one screw for each hole. **If you are using wood that is thicker than 1” you do not need the washers.

STEP 12 : Hang shelves and style!

These were so easy to make and they make the biggest statement in our kitchen! It also gives you an excuse to buy pretty dishes. Surprisingly, we had bought pretty dishes a while ago and I ended up getting to display them. This project only cost me $20 since I already had most of the supplies. #WINNING


SHOPPING LIST :
1 – 1 x 12 @ 12 feet long
6 – Lowes Style Selections Steel Black Decorative Shelf Brackets
24 – Flat Washers #8
12 – Flat Head Phillips Wood Screws #6 x ¾ “
Minwax Polycrylic (Water Based) – Clear Satin Finish
Paint Brush for Water Based Paint
Rust-Oleum Flat Black Spray Paint
TOOLS :
Tape Measure

Level

Pencil

Safety Glasses

Ear Protection

Mask

Drill

Circular Saw

Sander

CUT LIST :
1 – 1 x 12 x 12 @ 36”
SKILL LEVEL :
Beginner
PROJECT COST:
$60
GET THE LOOK
Large Cutting Board : Bed, Bath, and Beyond
Medium Cutting Board : TJMaxx
Small Cutting Board : Hobby Lobby
Dotted Bowls : TJMaxx
Cake Stand : Target
Dishware : Mikasa
Wall Paint : Sherwin Williams – Agreeable Beige
Trim Paint : Sherwin Williams – Snowbound
Be sure to tag me in your pictures on instagram with your finished project, Happy Shelf Making Friends!


These look great! We have some weird floating cabinets in our kitchen that are on my demo list-I’ll have to keep this in mind!❤️❤️
Hi Karissa,
Thank you! I saved my floating cabinets and have them in the garage in case we ever move and new owners want to put them back.
Be sure to tag me in your photos whenever you do decide to demo 😉
I actually just bought these brackets from Lowe’s with some 2×12 cut to the sizes I need (I wanted chunkier shelves). Came across your blog looking for stain suggestions, but saw that you used the same exact brackets that I just bought! So the brackets are 6.54″ L x 9.06″ D, so can be used either way… it looks like you have the 6.54″ dimension horizontally and the 9.06″ vertical. So my question (I know, get to the point already!) is, are the shelves sturdier with having the longer side vertical or horizontal. I was thinking the 9.06″ dimension would go horizontal to get close to the depth of the shelves, but then I saw your post and now I’m second-guessing myself! Any input would be much appreciated! Thank you! 🙂
Hi there!
It would honestly depend on how much weight and how large the objects are that you’re planning on placing on the shelves. Personally, I liked the look of the longer part of the brackets vertically. As long as you instal the brackets into wall securely into a stud or with anchors you should be good to go!
Let me know if you have anymore questions! 🙂
Do you know what kind of wood you used? Was it pine or something else? I love the color the combo of driftwood and provincial produces!! I have provincial already, so I am going to pick up some driftwood. Can’t wait to recreate these shelves in my dining room!
Hi Joni!
I believe it was standard pine in the commonboard section at Home Depot! A side note for the driftwood stain, Rustoleum now calls their stain Varathane. So you’ll have to look under that brand name to find the driftwood color 🙂 Be sure to tag me so I can see and share the shelves!!
Does it matter the order you apply the stain, could you get the same effect doing walnut then gray?
Hi Lisa,
The order matters when the first stain is lighter than the second stain. If you put weathered grey on top of walnut it will probably give you a bluish tint instead of the brown in the picture. Hope that helps!
I haven’t been able to find the Driftwood stain. Has anyone found it recently? I’m hoping it’s not discontinued!
Hi Jennifer,
Rust-Oleum rebranded and is currently called Varathane. I have had some readers state they were able to find the Rust-Oleum Driftwood at Walmart. You may be able to find a similar stain to Driftwood in the Varathane brand 🙂