DIY Wood Framed Mirror
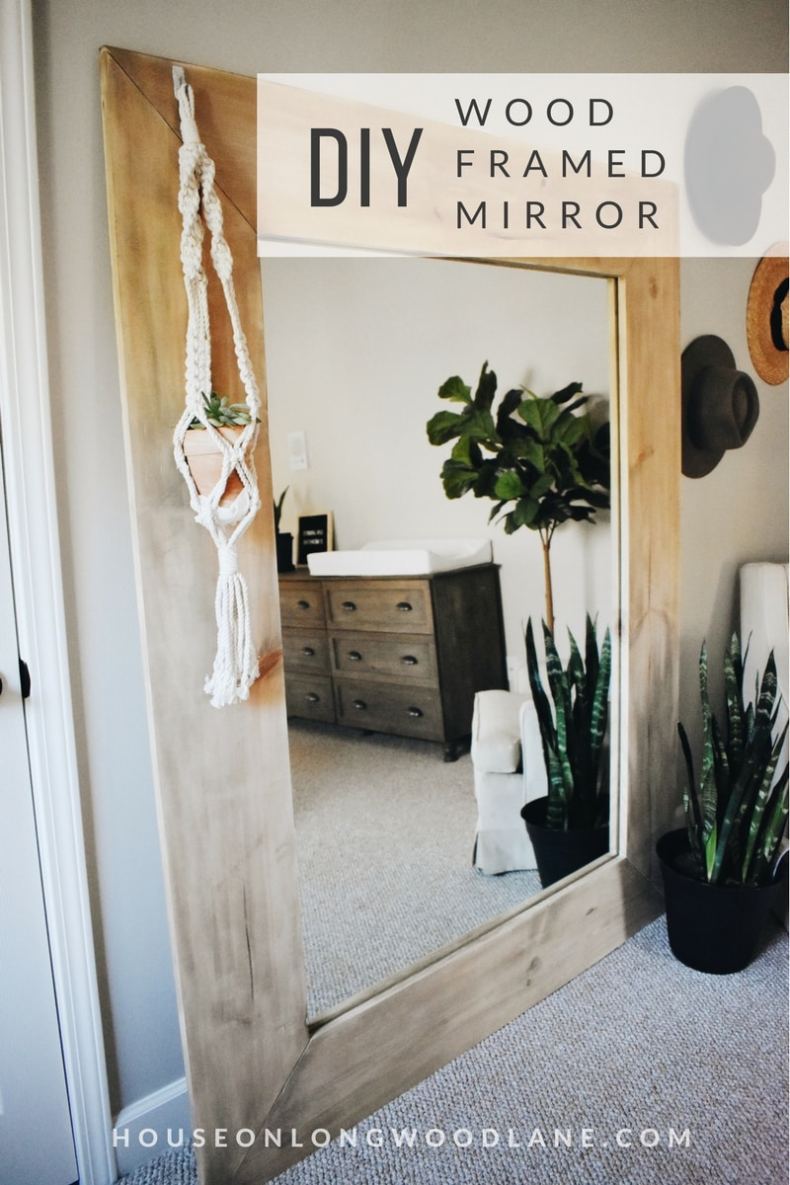
Talk about the easiest project I have done to date! This DIY Wood Framed Mirror was a half day project and under $40 if you have all the necessary tools already. I really wanted a nice full length mirror for our master bedroom. However, I wasn’t willing to pull the trigger and pay upwards of $400 plus for a mirror.
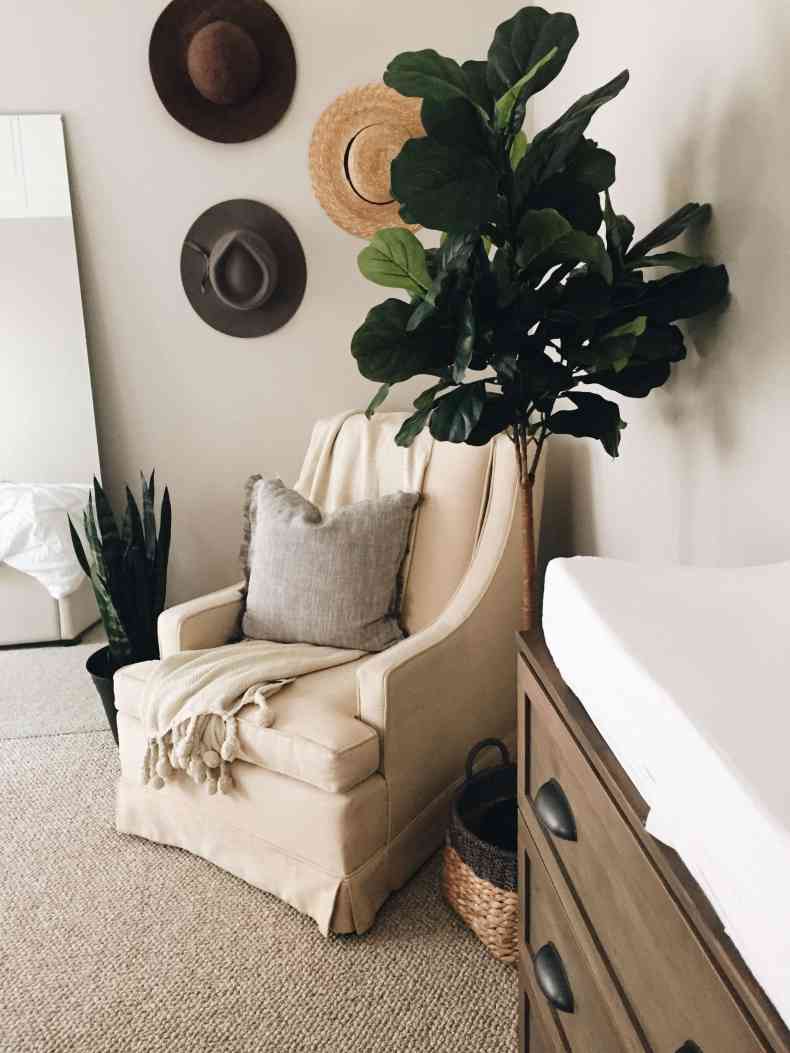
We ended up renovating our jack + jill bathroom and pulled the mirror off the wall and decided to put it in the master bedroom to just get it out of the way (See Photo Below). It ended up becoming the perfect solution to my full length mirror dilemma. I’m 5′ 1″ and it was the perfect size for a full length mirror! *My husband is 6′ and he’s still able to use it as a full length mirror as well.
BUILDING YOUR WOOD FRAMED MIRROR
STEP 1 : Measure your mirror before you cut! At least an inch of the wood should be covering the mirror so it can be screwed to the back of the frame later. Cut all ends of the boards at 45 degree angles (8 cuts total). Make sure your cuts are as exact as possible or the boards will not line up properly when you join them together.
STEP 2 : Line up the boards for a dry fit to make sure the corners line up correctly.
STEP 3 : Use 2 of the Zinc-Plated Flat Braces on each corner to bind the boards together. You should use a total of 6 braces.
STEP 4 : Flip over the frame and sand down the frame with 180 grit then 220 grit. If you don’t have a sander, you can use a sanding sponge – those typically run you around $7.
STEP 5 : Now you’re ready to stain! I used a combination of these 3 stains, because I can never find something I like in just one can. Start with driftwood, willow, and provincial. Wipe off almost all of the provincial when you put it on with the cloth so you get a very light wood color for the finish.
STEP 6 : Once the stain has cured (about 4 hours), follow the directions on the can for the Polycrylic. For more in depth instructions on staining check out my DIY Open Shelving Blog Post.
STEP 7 : After the final coat of poly has dried sand down the frame with 220 grit for a smooth finish. Use the 3M Final Finishing Pad after you’ve wiped down the frame free of dust.
STEP 8 : Center the mirror on the back of the frame and use the metal mirror clips to secure the mirror to the frame. Use 5 on the top/bottom and 5 on the sides for a total of 20 clips. My frame was 3/4″ wide, so the screws that came with the mirror clips were too long. You’ll need to use the #6 x 1/2″ screws if you plan to use 3/4″ wood width.
So, $40 worth of wood, brackets, and fasteners and a repurposed mirror later. You get this beauty! A super easy DIY Wood Framed Mirror that doesn’t cost you an arm and a leg.
I chose some banged up pieces of wood at Lowes, because I wanted the frame to have some natural character.
SHOPPING LIST :
4 – 1 x 10 @ 6 feet long
6 – Zinc Plated Flat Brace (These come in packs of 4)
5 – Metal Mirror Clips (Replace the screws in these packets with the #6 x 1/2″)
20 – Flat Head Phillips Wood Screws #6 x 1/2“
Minwax Polycrylic (Water Based) – Clear Satin Finish
Paint Brush for Water Based Paint
TOOLS :
Tape Measure
Pencil
Safety Glasses
Ear Protection
Mask
Drill
Circular Saw (or Miter Saw)
Sander
CUT LIST :
45 degree angle cuts on each end of the 1 x 10 @ 6 feet long
SKILL LEVEL :
Beginner
PROJECT COST:
$40
Be sure to tag me in your pictures on instagram with your finished project, Happy Frame Making Friends!
SaveSaveSaveSaveSaveSaveSaveSave
SaveSave


